Harbor Webhook Receiver
The Harbor Webhook Receiver responds to PUSH_ARTIFACT events originating from
Harbor repositories by refreshing all Warehouse resources subscribed to
those repositories.
"Refreshing" a Warehouse resource means enqueuing it for immediate
reconciliation by the Kargo controller, which will execute the discovery of
new artifacts from all repositories to which that Warehouse subscribes.
Configuring the Receiver
A Harbor webhook receiver must reference a Kubernetes Secret resource
with an auth-header key in its data map. This
shared secret will be passed in
the Authorization header of the webhook request sent by Harbor and verified by
Kargo.
While supplying an "Auth Header" is optional in Harbor, Kargo requires using this.
The following commands are suggested for generating and base64-encoding a complex secret:
auth_header=$(openssl rand -base64 48 | tr -d '=+/' | head -c 32)
echo "Auth header: $auth_header"
echo "Encoded auth header: $(echo -n $auth_header | base64)"
apiVersion: v1
kind: Secret
metadata:
  name: harbor-wh-secret
  namespace: kargo-demo
  labels:
    kargo.akuity.io/cred-type: generic
data:
  auth-header: <base64-encoded auth header>
---
apiVersion: kargo.akuity.io/v1alpha1
kind: ProjectConfig
metadata:
  name: kargo-demo
  namespace: kargo-demo
spec:
  webhookReceivers:
  - name: harbor-wh-receiver
    harbor:
      secretRef:
        name: harbor-wh-secret
Retrieving the Receiver's URL
Kargo will generate a hard-to-guess URL from the receiver's configuration. This URL can be obtained using a command such as the following:
kubectl get projectconfigs kargo-demo \
  -n kargo-demo \
  -o=jsonpath='{.status.webhookReceivers}'
Registering with Harbor
-
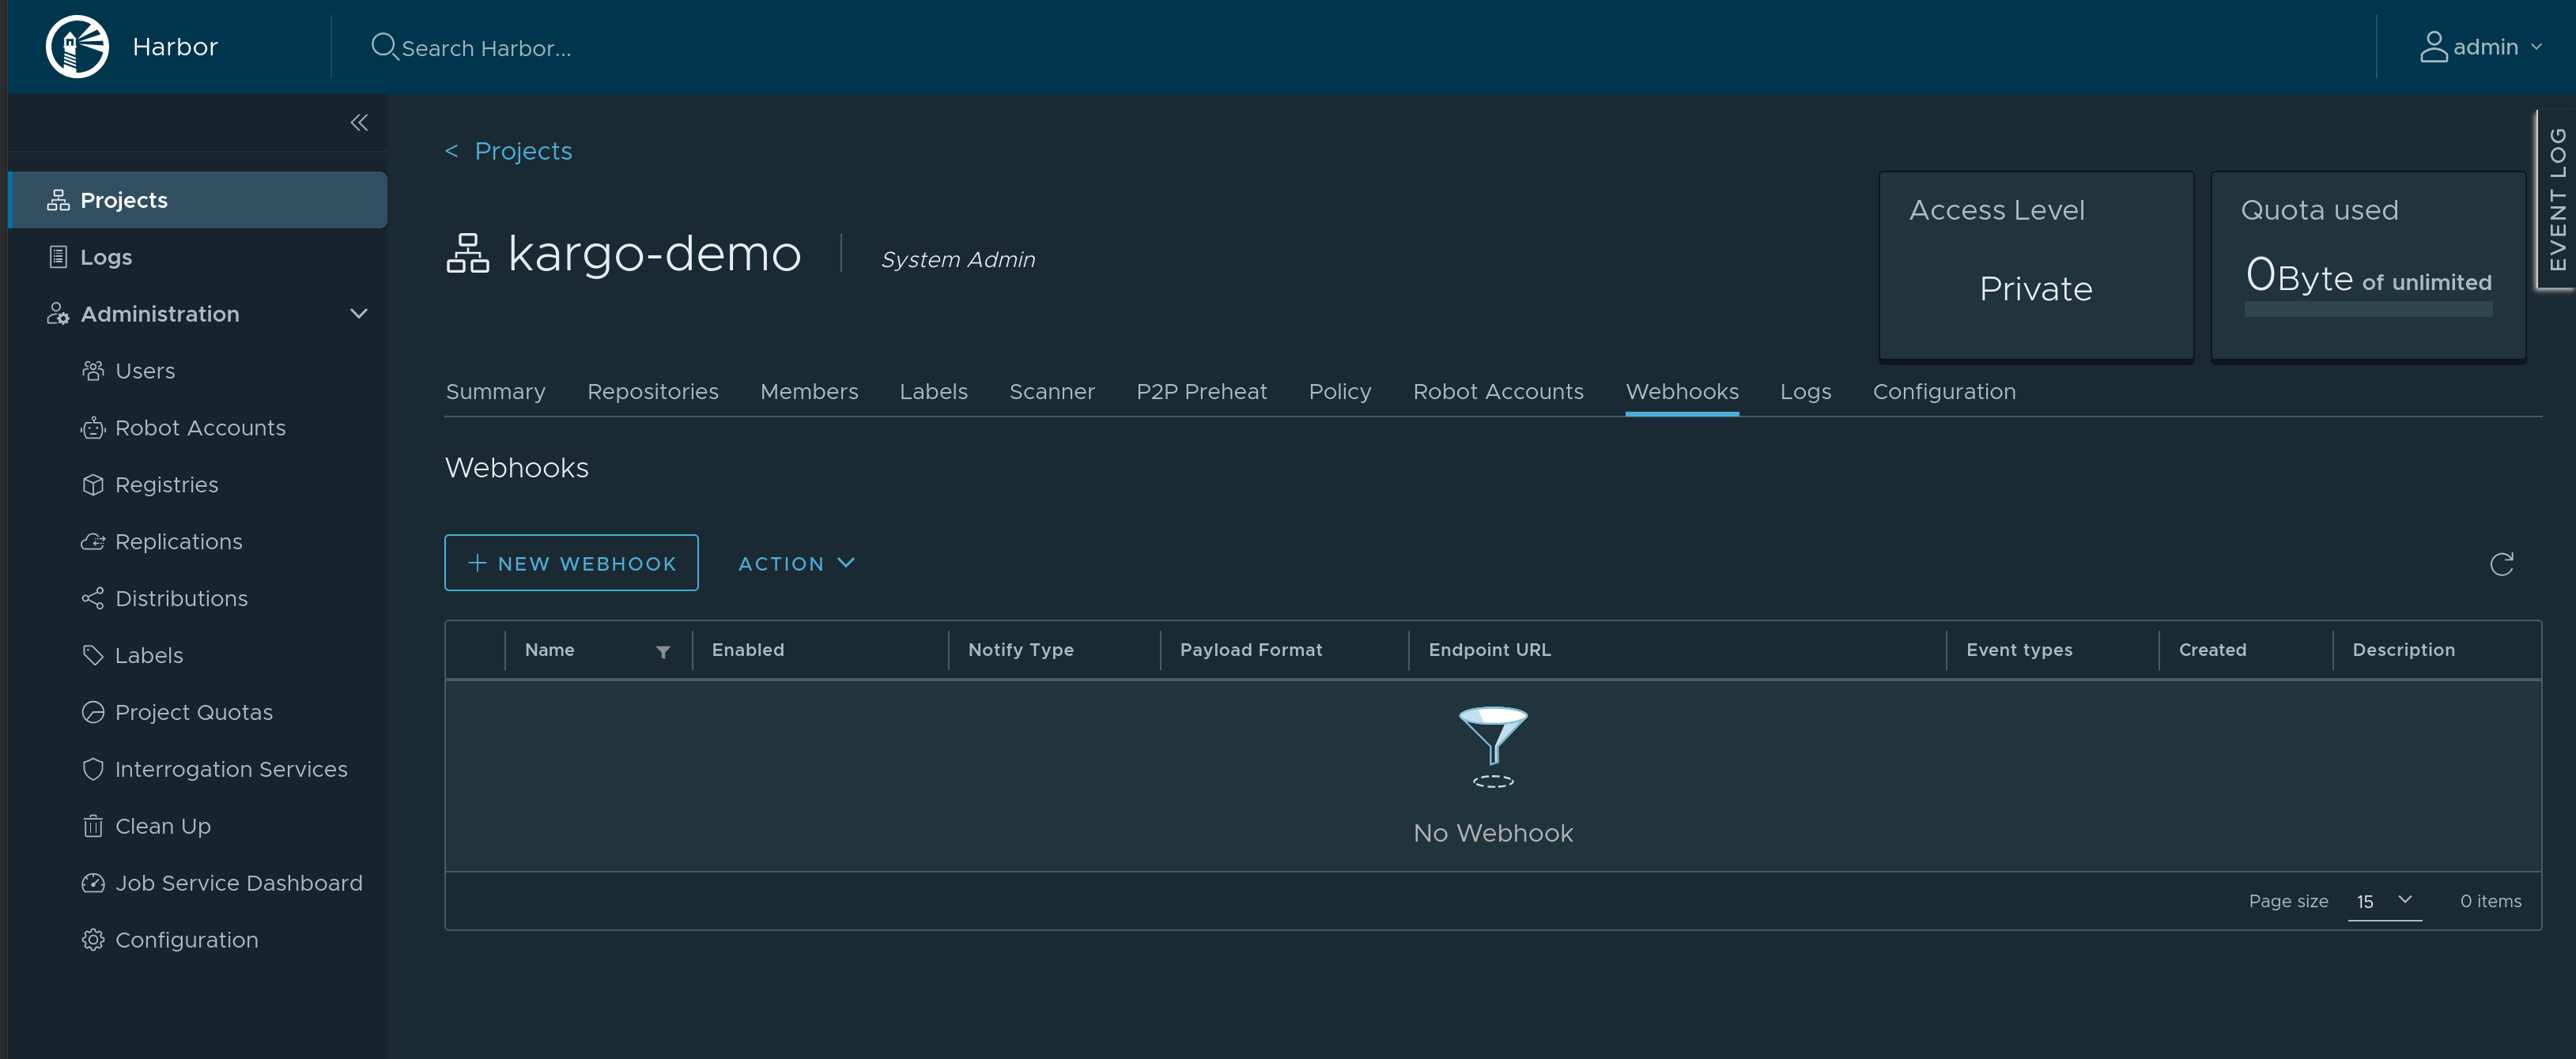
Navigate to
https://<harbor-instance>/harbor/projects/<project_id>/webhook, where<harbor-instance>and<project_id>have been replaced with a Harbor instance and project for which you are an administrator. -
Click New Webhook.

-
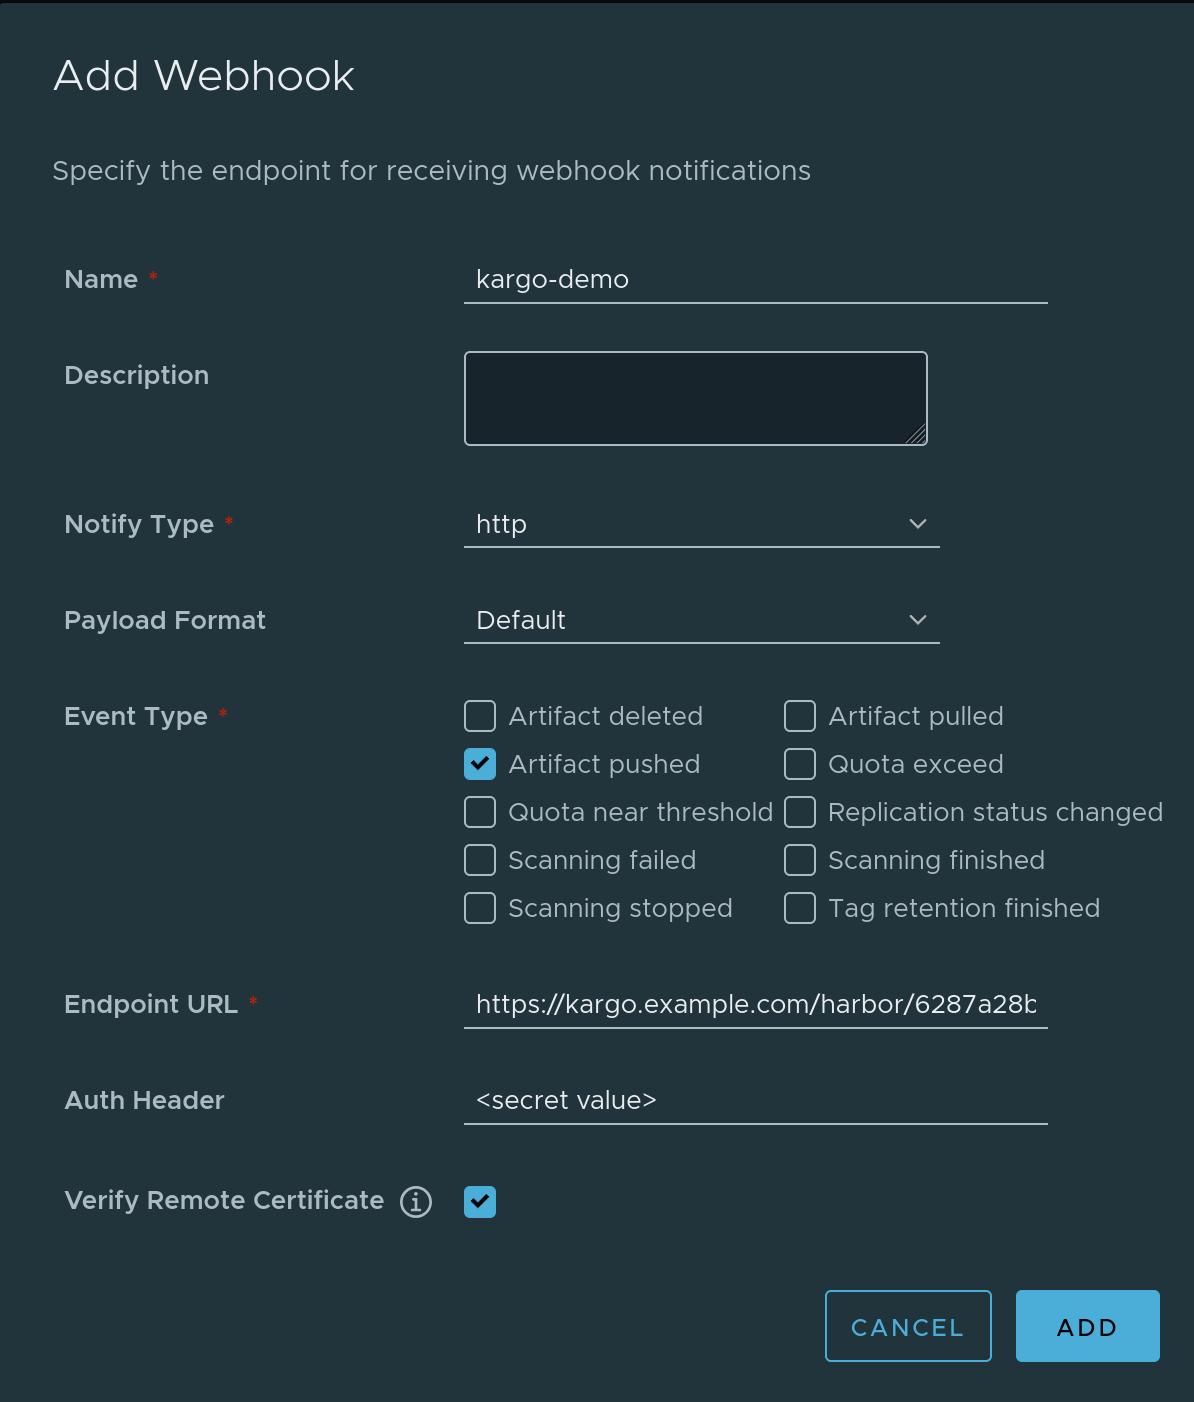
Complete the Add Webhook form:

-
Enter a descriptive name in the Name field.
-
Check Event type Artifact pushed. Uncheck all other event types.
-
Complete the Endpoint URL field using the URL for the webhook receiver.
-
Complete the Auth Header field using shared secret generated above.
noteUse the unencoded value; not the base64-encoded value.
-
Check Verify Remote Certificate.
-
Click Add
-
-
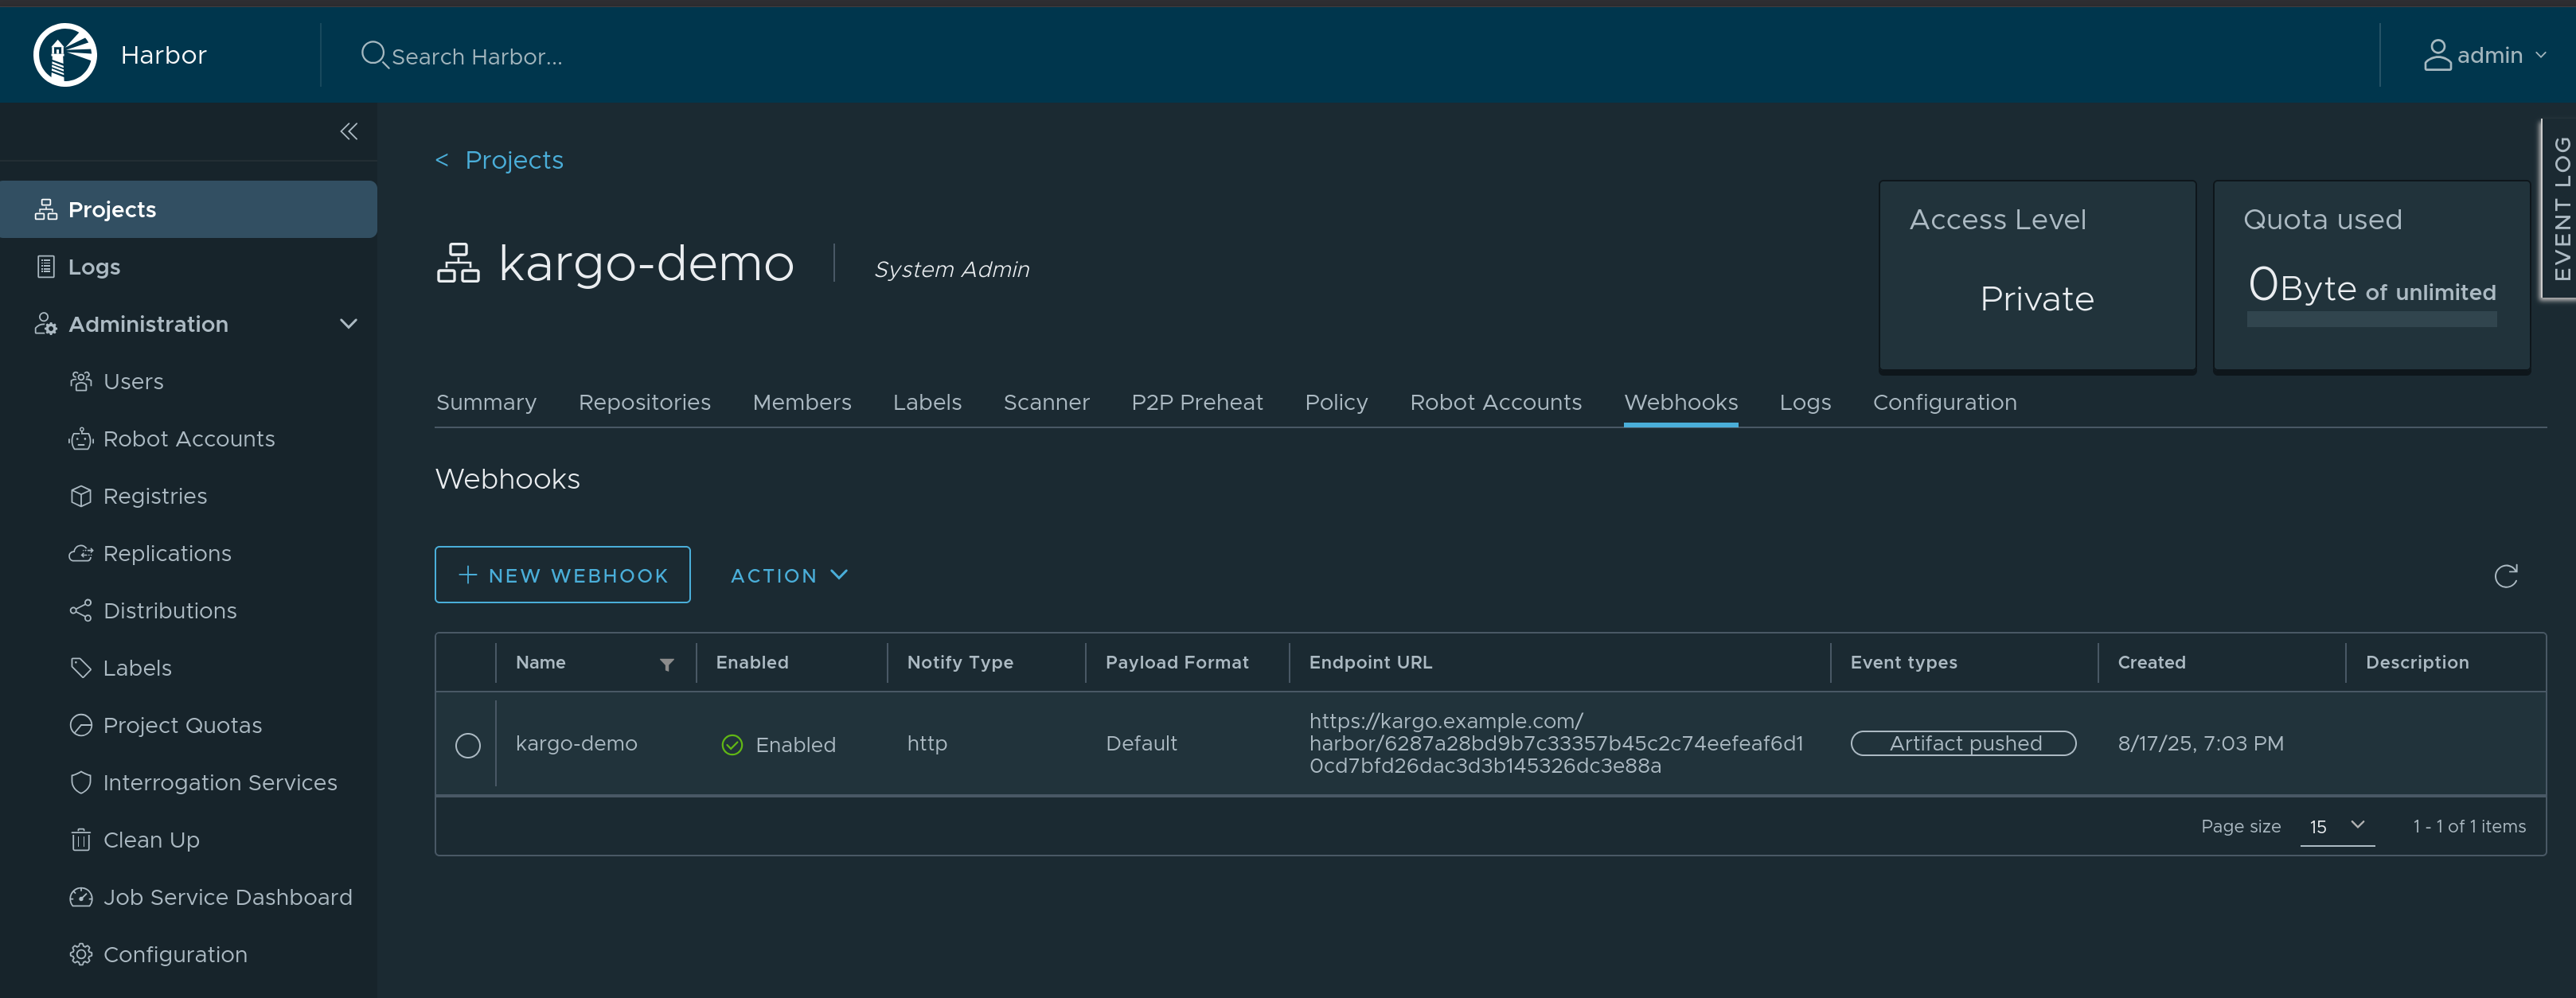
The webhook should now be registered with Harbor. You can test it by pushing an artifact to the repository. This should trigger a webhook run, which you can review by clicking the name of your webhook. You can then check the status of the run and verify that the run was successful, as well as review the logs for any errors or issues if it was not.
